Create a Glow in the Dark Skeleton: Glow Powder Science For Halloween
Here is a fun science craft that is perfect for Halloween or any time of year. You can make a skeleton or students can create their own designs. Use for a geometry unit and students can make shapes.
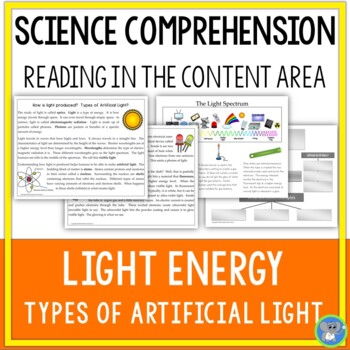
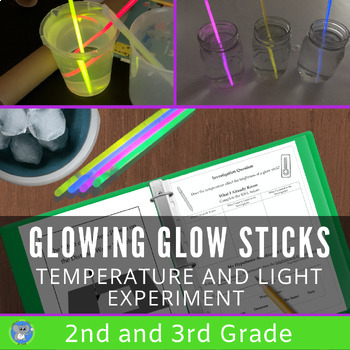
Have you ever seen something that glows in the dark? When ultraviolet light hits a material that fluoresces, the electrons get excited and move to a higher energy level. When the electrons come back to their level, they produce visible light.
In fluorescent lights, the tube contains a powder coating. Typically, it is white, but it can be any color. The powder will glow when exposed to ultra-violet light.
Inside the tube are argon gas and a little mercury vapor. An electric current is created and pushes electrons through the tube. These excited electrons create ultraviolet light (invisible light to us). The ultraviolet light hits the powder coating and causes it to glow with visible light. The glowing is what we see. Glow powder is great for observing fluorescence. Try this simple and fun STEAM craft with kids while you learn about how light is made.
You can find glow powder in science catalogs and craft stores. They mix easily into the glue. You can also find glow-in-the-dark glue. The powder is great because you only need a little and you can use it with other projects too. The powder is similar to the coating that is put inside fluorescent bulbs.
Glow in the Dark Skeleton Craft

Supplies
Q-tips
School Glue
Glow Powder
Black Cardstock Paper
Directions
1. Print out the skeleton faces for the students. (Make your own.) The link will take you to several you can choose from. Students can make their own too.
2. Cut enough Q-tips into 3rds for the fingers.
3. Cut enough Q-tips in half for feet and other parts the students may use them for.
4. Mix in several teaspoons of glow powder with glue. Make sure it is mixed well. Test in a dark area to see that it has enough glow. Add more as needed. The glow powder tends to settle at the bottom, so stir before and while using.
5. Students will coat the Q-tips with glow glue and place them on the cardstock paper in the pattern of a skeleton.
6. Students will glue the skull at the top. Be sure to coat the top of the skull with glue so it will glow.
7. Let dry.
8. Sit the paper in light to charge it. Go to a dark area and watch it glow.
Get More Ideas
SHOP THIS POST


